
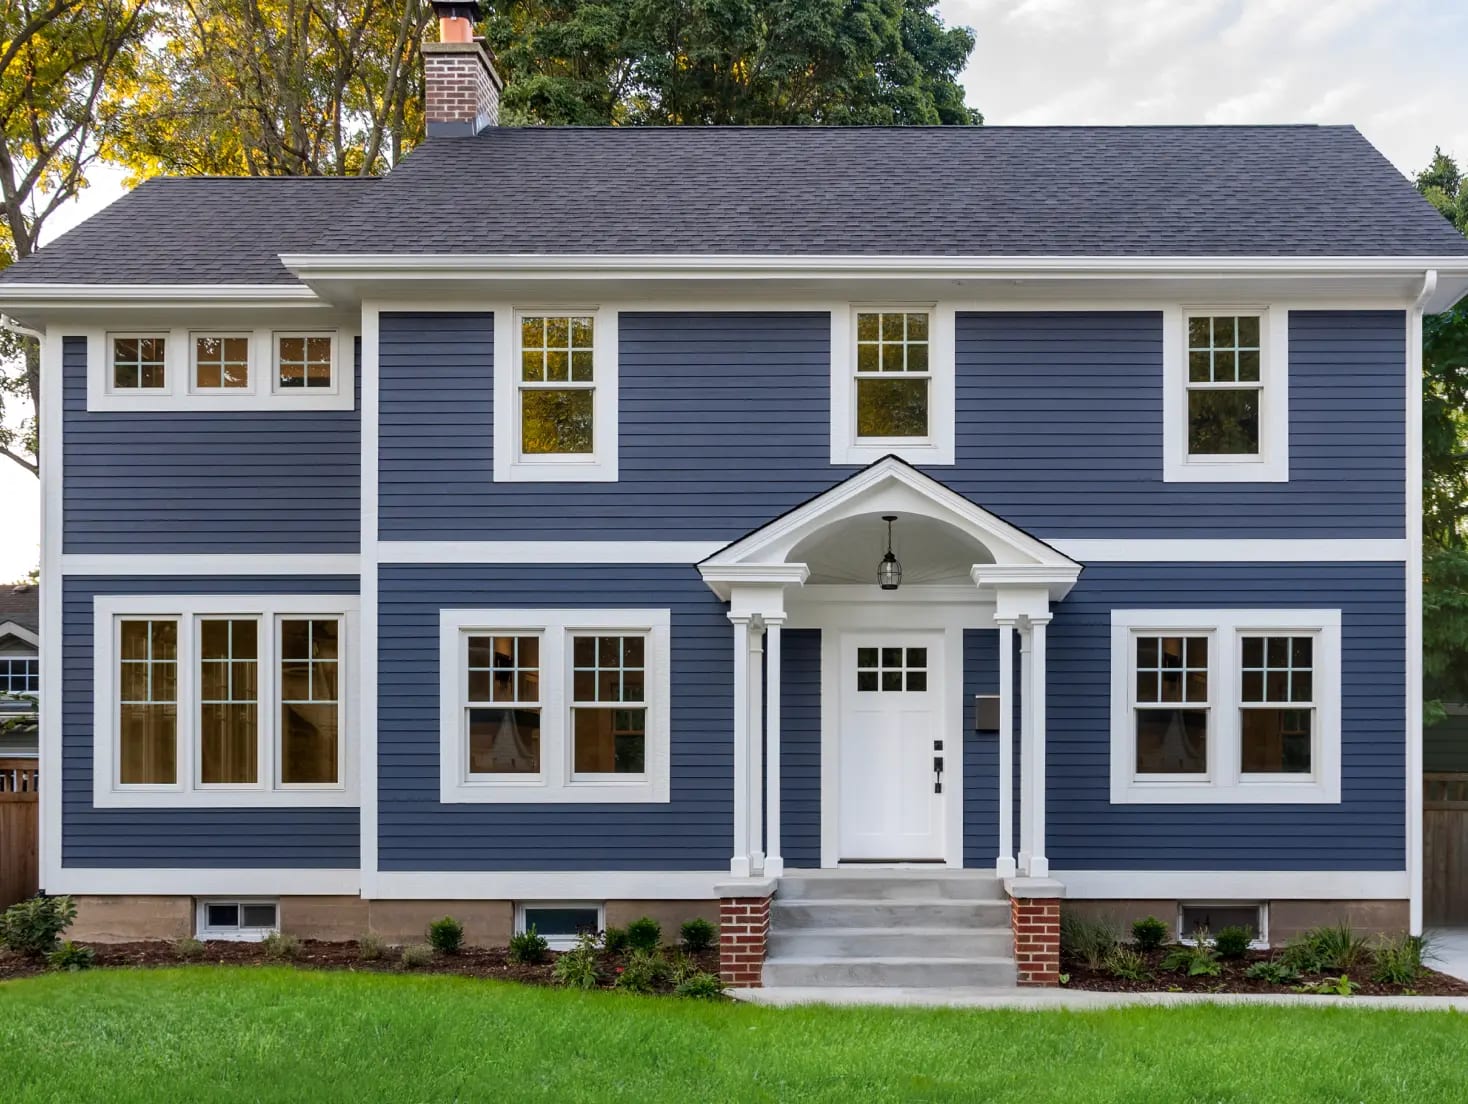
Windows & Doors
The smartest time to replace windows is when the siding is off and the wall is open. Berkana Construction installs windows and exterior doors as part of exterior projects across the Lower Mainland, flashed and detailed into the assembly the way the building code intends.
What we deliver.
Most window leaks are not window failures, they are installation failures: flashing that does not connect to the weather barrier, missing sill pans, sealant doing a job flashing should do. Because we build the whole wall assembly, our window and door installs integrate correctly with the barrier and rainscreen around them.
- Install during siding replacement
- Sill pan and flashing integration
- Connection to WRB and rainscreen
- Vinyl and fiberglass window units
- Exterior and patio doors
- Trim and detail carpentry
Projects we take on.
Re-Side Combos
Windows replaced while walls are open.
Leak Corrections
Badly installed units re-flashed properly.
Door Replacements
Entry and patio doors fitted and sealed.
Efficiency Upgrades
Older glazing brought up to date.
From first call to final walkthrough.
Assessment
We review existing units, wall condition and whether a combined siding and window scope makes sense.
Selection and order
Units chosen for performance and budget, with lead times built into the schedule.
Install and integrate
Sill pans, flashing and air sealing connected to the weather barrier, then trim and cladding closed in around them.
Pick the right cladding.
James Hardie
Fiber cement siding engineered for wet climates: fire resistant, rot proof and warranted for decades, installed to Hardie spec.
Cedar
Natural Western Red Cedar bevel, channel and shingle siding, installed with the detailing that keeps wood beautiful in a wet climate.
Vinyl
The budget-friendly workhorse: modern premium vinyl installed correctly, with straight lines, proper gapping and clean trim.
AL13 Panels
Architectural aluminum panel system with clean modern lines, non-combustible and engineered for fast, precise installation.
Windows & Doors: what Lower Mainland owners should know.
There is a saying among building envelope people: windows do not leak, installations do. Modern window units are remarkably good at keeping water out of their own frames and glazing. Where they fail, almost without exception, is at the joint between the unit and the wall around it. That joint is not really window work at all. It is wall work, which is exactly why a siding contractor ends up being the right trade to handle window and door replacement on so many projects.
This page covers how window and door installation fits into exterior construction: the difference between flanged and brickmould units, how flashing must integrate with the weather resistive barrier and rainscreen, why windows installed in isolation from the wall assembly so often fail, and why a re-side is the single smartest moment to replace aging units.
Two Kinds of Windows, Two Kinds of Installation
Replacement windows arrive in two fundamentally different formats, and the choice determines how much of the wall gets involved.
Flanged Windows
A flanged window has a continuous nailing fin around its perimeter. The fin sits flat against the wall sheathing, gets fastened through it, and is then shingled into the wall's water management layers with flashing tape and metal head flashing. Done properly, a flanged installation is the most durable and watertight method available, because the window becomes part of the wall's drainage plane rather than an object stuck into a hole. The catch is access: installing a fin correctly requires the cladding around the opening to come off. That is trivial during a re-side and disruptive as a standalone job.
Brickmould and Insert Units
Brickmould windows, and insert or retrofit units generally, are designed to go into an opening without disturbing the surrounding cladding. The exterior trim is part of the unit or applied over the joint, and the seal depends heavily on sealant rather than layered flashing. There are legitimate uses for this approach, particularly where the existing cladding is sound, but it is important to be honest about what it is: a sealant dependent installation with a shorter maintenance cycle. Caulking is a wear item. Layered flashing is not.
The Wall Assembly Is the Real Waterproofing
Every wall built or renovated properly in this climate manages water in layers. Behind the cladding sits a weather resistive barrier, the WRB, typically a synthetic housewrap or a self adhered membrane, and in most current Lower Mainland construction a rainscreen gap between the WRB and the cladding that lets water drain and the wall dry. The siding itself is the first line of defence, not the last.
A window opening is a large deliberate hole punched through all of these layers, and the installation has to rebuild continuity around it.
Shingle Logic
Water runs downhill, so every layer must lap over the layer below it, the way roof shingles do. At a window that means: the sill gets a waterproof pan, often formed from self adhered membrane with a back dam, so any water that ever enters the rough opening drains out rather than in. The side jambs are taped so they lap over the sill pan. The WRB above the window laps over the head flashing, and the head flashing laps over the window fin. Reverse any single one of those laps and you have built a funnel that collects water and directs it into the framing.
The Rainscreen Connection
On rainscreen walls the detailing extends further. The head flashing must extend past the window and kick water clear of the drainage cavity. Strapping around the opening has to maintain the drainage path so water moving down the cavity can pass the window rather than pond on it. These are the details that distinguish a window installed by someone who builds walls from a window installed by someone who only handles windows.
Why Windows Fail When Installed in Isolation
The typical failure story goes like this. A homeowner hires a window company to swap units in an occupied home. The crew is skilled at windows but has no scope, and no budget, to open the surrounding wall. So the old unit comes out, the new unit goes in, and the perimeter gets a generous bead of sealant. It looks finished. It passes a hose test. For a few years it works.
Then the sealant ages. Ultraviolet light, thermal movement between dissimilar materials, and building settlement open hairline gaps. Water begins entering in quantities too small to show up indoors, running down the outside of the rough framing, absorbed by sheathing that can no longer dry because the leak is continuous through our eight month rainy season. When symptoms finally appear, a soft spot in the drywall below the corner of the window, a stain on the interior finish, the concealed damage is often years old. On homes from the leaky condo era, that pattern repeated across a whole elevation is exactly what created the region's water damage restoration industry.
None of this means the window company did poor work by its own standard. It means the standard was wrong for the wall. A window is not sealed to the cladding; it is integrated into the WRB. If the scope of work does not include the WRB, real integration is not possible.
The Case for Replacing Windows During a Re-Side
When a home is getting new cladding, the wall is already open. The old siding is off, the WRB is exposed and typically being replaced or upgraded, and scaffolding or staging is in place. At that moment, replacing windows costs a fraction of what it costs as a standalone project, and more importantly, it can be done to the highest standard available: full flanged units, membrane sill pans, taped jambs, proper head flashing, all tied into a brand new drainage plane.
The reverse ordering is painful. Install new siding this year and decide to replace windows in three years, and the installer must either cut back and patch your new cladding around every opening, compromising the very details a siding replacement exists to perfect, or resort to insert units with their sealant dependence. We raise the window question on every re-side quote for exactly this reason. Even when the answer is not yet, it should be a decision rather than an oversight, and openings can be detailed to make future replacement cleaner.
The same logic applies to wall upgrades that thicken the assembly. Adding exterior insulation moves the plane of the cladding outward, which changes jamb extensions, sill projections, and flashing depths at every opening. Windows, insulation, and cladding decided together produce a coherent wall. Decided separately, they fight each other at every opening.
Energy Performance in Plain Terms
Windows are the thermal weak point of any wall. Even an ordinary insulated wall outperforms a good window by a wide margin, which is why window upgrades are felt so directly in comfort. Modern double glazed units with low emissivity coatings and insulated frames dramatically reduce the cold radiating surface that makes a room feel chilly even when the thermostat says otherwise. Condensation on interior glass, a constant complaint in our damp climate, drops sharply when the inner pane stays warmer.
Two honest caveats. First, energy savings from windows alone rarely justify replacement on utility costs; the real returns are comfort, condensation control, acoustics, and eliminating failed units whose seals have fogged. Second, air leakage matters as much as glass performance, and air sealing is an installation quality issue, another argument for doing the work when the wall is open. We speak in these general terms deliberately: specific performance numbers depend on the unit, the orientation, and the house, and they belong in a quote, not a webpage.
Frame Materials, Briefly
Unit selection deserves its own conversation during quoting, but the landscape is worth sketching. Vinyl frames dominate the replacement market for good reason: they are affordable, thermally decent, and require nothing beyond cleaning. Their limitations are structural stiffness on large openings and a restricted colour range, since dark vinyl in full sun can move more than its joints appreciate. Fibreglass frames cost more and answer both complaints, stiffer, stable under heat, paintable, with thermal performance to match. Wood interior with aluminum clad exterior units offer warmth inside and weather resistance outside at a price reflecting both. Aluminum framed units, common in commercial work and modern designs, need thermally broken frames in our climate to keep the interior surface warm enough to avoid condensation.
Two selection notes from the installation side. First, frame depth and fin position must suit the wall assembly, especially on rainscreen and insulated walls, and that compatibility check belongs to whoever is building the wall. Second, on character homes, matching sightlines and grille patterns to the original architecture matters more to the finished result than any specification sheet; a technically excellent window that looks wrong on the elevation is still a mistake.
Exterior Doors
Everything above applies to exterior doors, with two complications. Doors sit at floor level, where water concentrates and where the sill must handle foot traffic while staying watertight, and they get slammed a few thousand times a year, so the installation has to hold adjustment under real use.
Sill pan flashing under an exterior door is non negotiable in this climate, particularly at doors opening onto decks and patios where standing water and snowmelt sit directly against the threshold. The door rough opening integrates with the WRB exactly as a window does, with the added requirement that the sill pan drain outward over whatever waterproofing or deck surface lies below. A surprising amount of the rot we uncover during siding repair radiates from a patio door threshold that never had a pan.
Beyond weather, door replacement is about function: solid thermal cores, multi point locks that pull the slab tight against its weatherstrip, adjustable sills, and proper shimming so the door still latches sweetly years later. A door that needs a shoulder in February was installed wrong, not built wrong.
What Our Process Looks Like
Whether windows and doors are part of a full exterior renovation or a focused replacement project, the sequence is consistent. We assess the existing openings, including probing for concealed damage where staining or soft trim suggests it. We help select units appropriate to the house and the installation method the wall allows. Openings are stripped to sheathing where the scope permits, damaged framing and sheathing are replaced rather than buried, and every opening is flashed with the shingle logic described above before cladding and trim close it in. Where we find rot beyond surprise allowances, we document it with photos before and after, so you know exactly what was in your wall and what was done about it.
Berkana approaches openings as part of the building envelope first and as products second, which is the order that keeps water out for decades.
Talk to Us Before You Order Windows
If you are planning window or door replacement anywhere in the Lower Mainland, especially if new siding is on your horizon, it is worth a conversation before you commit to a standalone install. Berkana Construction Management has been delivering complete exterior solutions from Maple Ridge since 2019, licensed, insured, and WorkSafeBC compliant. Call (672) 771-6868 or visit us at 13490 224th St for a free written quote that treats your windows and your walls as one system.
Common questions, windows & doors.
Get a free written quote.
Tell us about your building and what you have in mind. We respond within one business day to book a free site visit, then follow up with a clear, line-itemed quote.