
The Leaky Condo Era: What It Taught BC About Rainscreen Walls
How BC's leaky condo crisis changed the way we build walls, what a rainscreen actually does, and what it all means for your next home siding project.
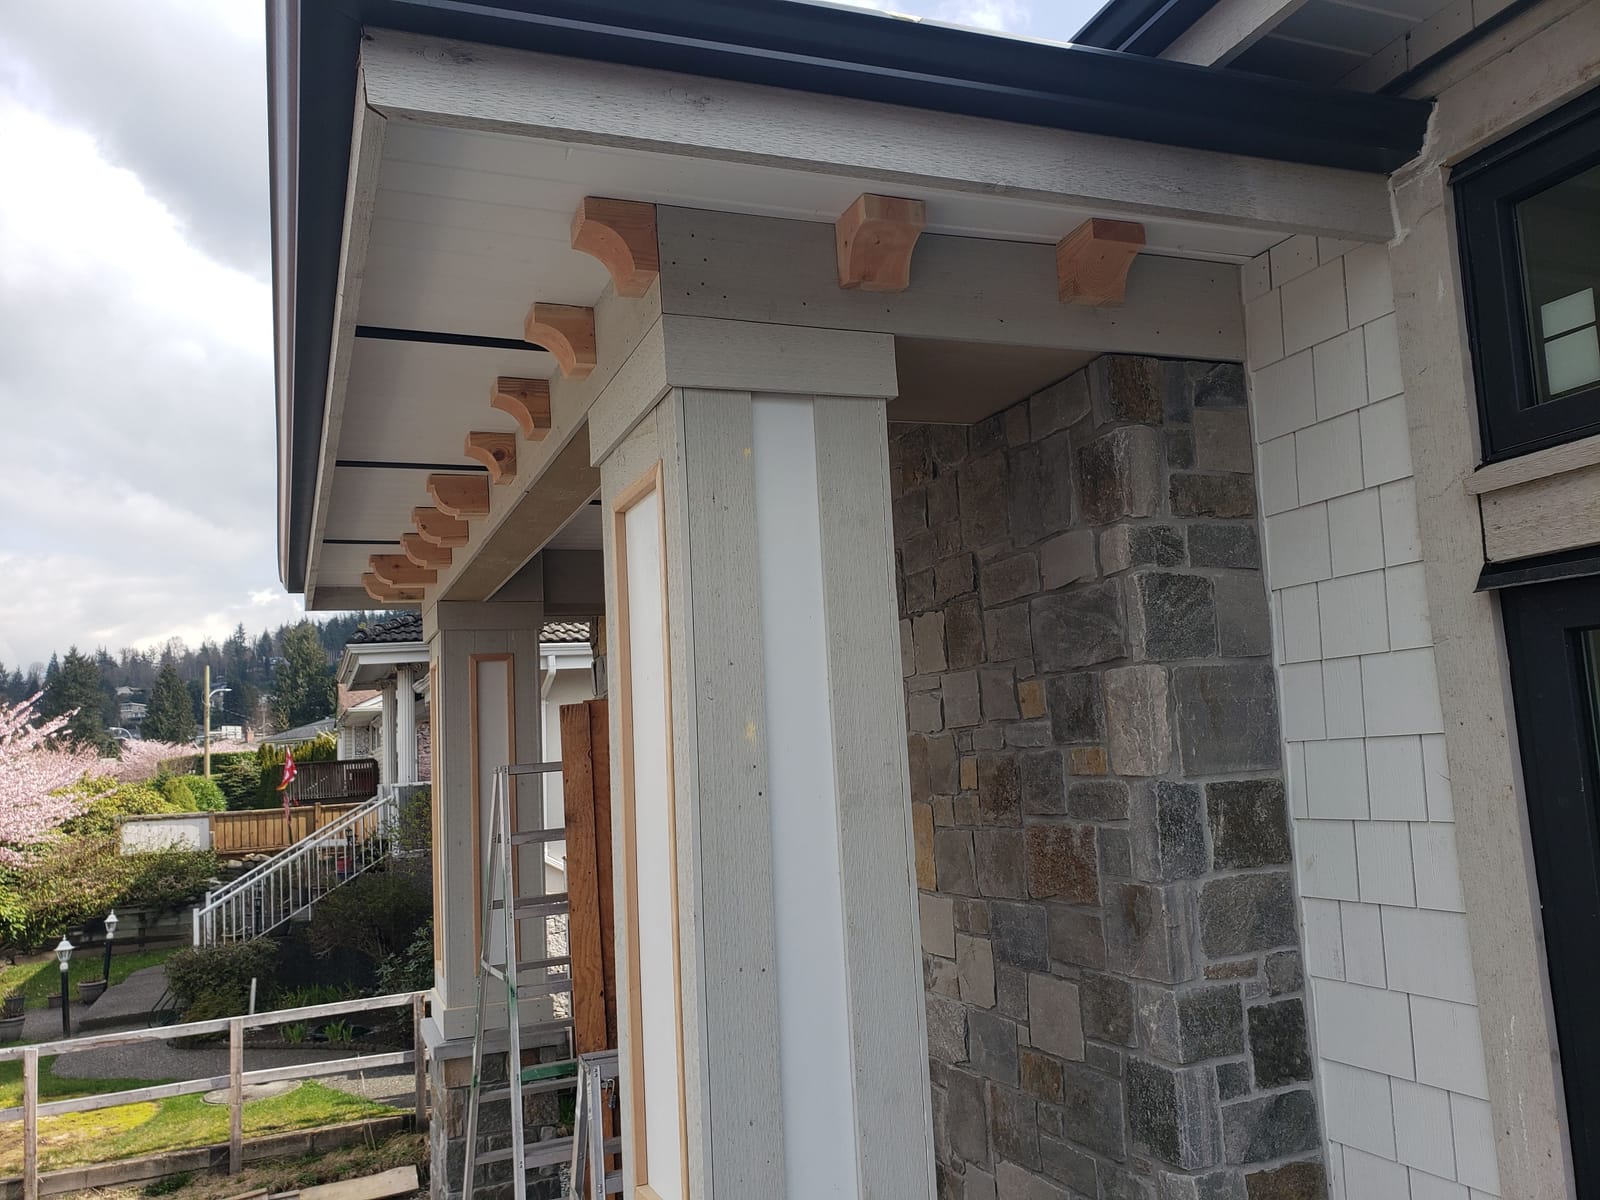
The leaky condo crisis taught British Columbia one blunt lesson: in a coastal climate, you cannot build a wall that keeps every drop of water out, so you must build a wall that can dry. That lesson is now written into how we construct and retrofit walls across the Lower Mainland, and if you are planning a siding project on an older home, it is the most important piece of building history you can know.
What Went Wrong
Through the late 1980s and 1990s, a construction boom filled the region with buildings wrapped in what the industry calls face-sealed walls. The design assumed the outer surface, the stucco or siding and its caulking, would be a perfect raincoat. Cladding was fastened tight to the sheathing with no meaningful gap, and details like wood trim, unprotected window heads, and minimal roof overhangs were borrowed from drier climates and California-influenced styling.
The assumption failed. Coastal BC delivers wind-driven rain for months at a stretch, and water found its way past caulking joints, window interfaces, and hairline cracks. Once inside, it had nowhere to go. Trapped between cladding and sheathing, it soaked building paper, rotted plywood and framing, and fed mould, often invisibly for years. By the time staining or soft walls appeared, buildings needed their entire envelopes rebuilt. The provincial response included a public inquiry led by Dave Barrett, an overhaul of licensing and warranty rules, and changes to building requirements in coastal climate zones that made the rainscreen approach standard practice.
The Fix: Walls That Drain and Dry
A rainscreen wall accepts that some water will always get past the cladding, and plans for it. Behind the siding, vertical strapping creates a continuous air cavity. Behind the cavity sits a properly lapped water-resistive barrier over the sheathing. Water that penetrates the cladding hits the barrier, runs down the cavity, and exits through vented flashing at the bottom of the wall. Just as importantly, air moves through the cavity and dries both the back of the siding and the face of the wall behind it after every storm.
The difference in real performance is dramatic. In a direct-fastened wall, a small caulking failure can hold water against the sheathing for an entire wet season. In a rainscreened wall, the same failure usually amounts to nothing, because the assembly sheds and dries the intrusion as designed. The cladding also lasts longer, since it can dry from both faces instead of one.
Why This Matters for Ordinary Houses
The crisis is remembered as a condo story, but the physics never checked property titles. Plenty of single-family homes in Maple Ridge, Coquitlam, Surrey, and across the region were built in the same decades with siding nailed directly over building paper. Many have performed adequately thanks to generous roof overhangs or sheltered siting. Others have quiet rot working through their south and southeast walls right now.
If your home predates rainscreen requirements, that is not a reason to panic. It is a reason to treat any siding replacement as more than a cosmetic decision. When the old cladding comes off, everything the leaky condo era taught us can be applied to your wall for a modest additional layer of the project: modern water-resistive barrier, proper flashing at windows and penetrations, strapping, insect screening at the cavity openings, and cladding installed over the gap.
What a Rainscreen Retrofit Involves
On a typical retrofit, the sequence looks like this. The existing siding is removed and the sheathing inspected, which is the moment any hidden damage gets found and dealt with honestly rather than covered over. Rotten sheathing is replaced, and if moisture has travelled further, restoration work happens before anything new goes on. A new water-resistive barrier is installed and integrated with window and door flashings, which is where much of the skill in the job lives. Vertical strapping goes over the barrier, creating the drainage cavity. Then the new cladding, whether fibre cement, engineered wood, or another material suited to coastal exposure, is fastened to the strapping.
Two side benefits are worth knowing. First, the open wall is the economical moment to add exterior insulation, which wraps the house in a continuous thermal layer and cuts heating bills in a way interior upgrades struggle to match. Second, window replacement coordinates naturally with the same opening of the wall, since flashing integration should be done once, properly.
Reading Your Own Home's Risk
A few questions sketch your exposure. When was the house built, and has the siding ever been fully replaced since? Do walls take direct southeast weather, or are they sheltered by overhangs and trees? Are there stains below windows, bubbling paint, or soft trim? Is the cladding fastened tight to the wall with no visible gap or vent strip at the bottom edge? None of these answers is a diagnosis on its own, but together they tell you whether your next siding decision should be a like-for-like swap or a chance to bring the wall up to what BC now knows is necessary.
The leaky condo era cost this province enormously, and the payment bought real knowledge. When the walls are open, use it.
Berkana Construction Management builds rainscreened wall assemblies as standard practice on replacement projects across Maple Ridge and the Lower Mainland. If you own an older home and want to understand what is behind your cladding before it becomes urgent, call (672) 771-6868 or arrange an assessment.